

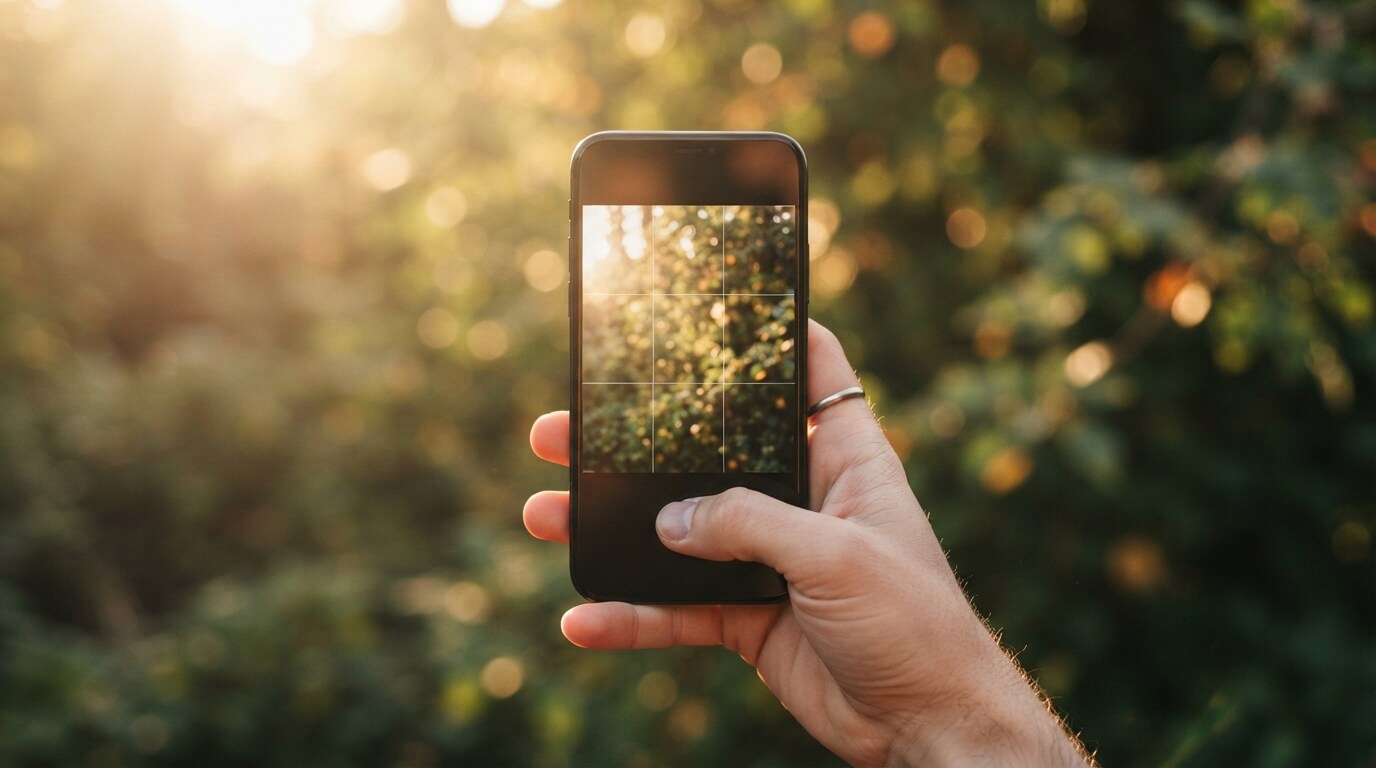
Better phone photos come down to a handful of habits, not a better phone. Clean your lens, use your main camera instead of digital zoom, and tap to lock focus and exposure before you shoot, these three alone fix the majority of blurry, dull, or overexposed photos people take every day.
From there, small setting changes make a real difference: shooting in the full 4:3 aspect ratio instead of a cropped 16:9, turning on grid lines for better composition, and using natural light instead of your phone’s built-in flash. None of this requires new gear or a photography course.
Below are 8 specific, testable techniques, in the order that gives you the biggest improvement for the least effort. Try the first three today, you’ll notice the difference in your very next photo.
1. Clean Your Lens Before Every Shot
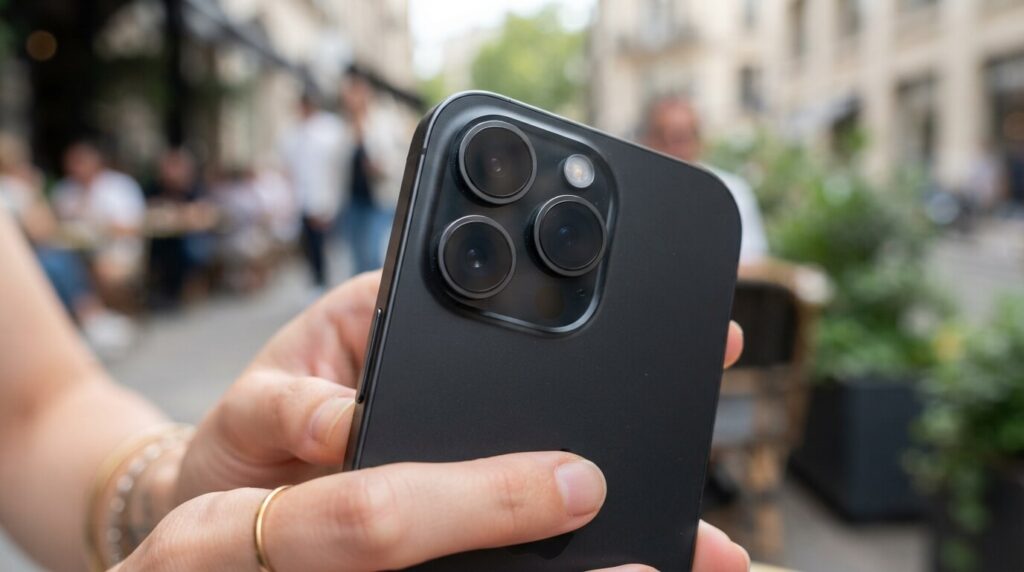
Your phone lives in a pocket, a bag, or gets picked up with the same hands that touch your face, your food, and everything else all day. A thin layer of oil or dust on the lens softens every single photo you take, and most people never think to check.
This is the single easiest fix on this list, and professional photographers still swear by it. According to DPReview’s smartphone photography guidance, wiping the lens with a soft microfiber cloth before shooting is one of the most overlooked ways to sharpen results instantly.
- Use a microfiber cloth, or the hem of a cotton shirt in a pinch, never a paper towel, which can scratch the lens
- Check your lens before important shots: events, trips, or anything you’ll want to keep
- Phone cases with raised edges tend to trap more dust and grime near the camera
- This single habit takes five seconds and fixes a problem no software setting can undo
2. Use the Main Camera and Skip Digital Zoom
Every modern phone packs two or three cameras on the back, each with a different sensor size, and the main camera almost always has the largest sensor. That means better light-gathering, better detail, and better performance in anything but perfect daylight.
The mistake most people make is pinching to zoom in before taking a shot. That’s digital zoom, and it doesn’t add detail, it just crops and stretches the image the main sensor already captured, which is why zoomed-in phone photos often look soft or grainy.
- Stick to 1x (main camera) for the sharpest results in most situations
- If your phone has a dedicated telephoto lens, use its fixed zoom level (often 2x, 3x, or 5x) instead of pinching further
- Avoid pinch-to-zoom entirely when you can just walk closer to your subject instead
- If you must crop, it’s better to shoot wide at full resolution and crop afterward in editing
3. Master Tap-to-Focus and Exposure Lock
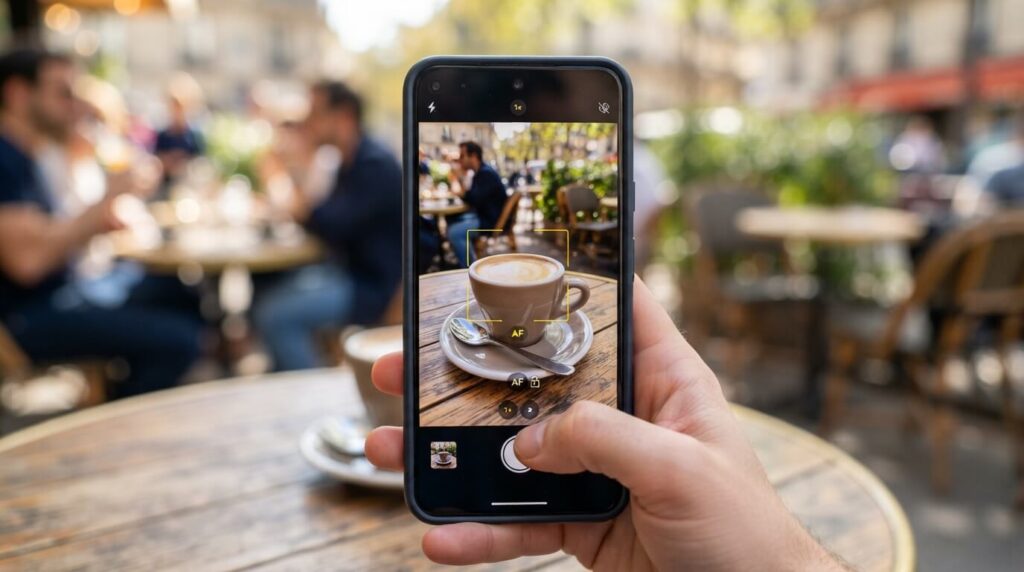
Most people tap their screen once, maybe, and let the phone figure out the rest. But nearly every phone camera lets you manually set both focus and exposure with two simple taps, and that control alone fixes most badly lit or oddly focused photos.
Tapping the screen tells your phone exactly where to focus and, on most phones, brings up a small sun icon you can drag up or down to brighten or darken the shot before you take it. A longer press locks both settings in place, which matters when you’re shooting multiple frames of the same scene.
- Tap once on your subject to set focus and reveal the exposure slider
- Drag the sun icon up to brighten a dark scene, or down to recover detail in a bright one
- Long-press to lock focus and exposure (AE/AF Lock), useful when recomposing a shot without losing your settings
- This is the single biggest jump in control most people never realize they already have
4. Shoot in RAW or Pro Mode When You Plan to Edit
If you only ever post photos straight out of your camera app with zero editing, this technique won’t matter much to you. But if you edit your photos before sharing, shooting in RAW gives you dramatically more room to work with.
RAW files preserve more of the original image data and apply less automatic processing than a standard JPEG or HEIC, which means you can recover shadow detail, adjust white balance, and fix exposure mistakes after the fact without the image falling apart. Many current phones, including recent Samsung and Pixel flagships, offer RAW capture through a Pro or Expert mode.
- Look for “RAW,” “Pro,” or “Expert” mode in your camera app’s settings menu
- RAW files are larger, so only use this when you actually plan to edit — otherwise it just eats storage
- If your phone doesn’t support true RAW, some third-party apps like Halide or Open Camera add the option
- Pro mode on most phones also unlocks manual ISO and shutter speed control alongside RAW capture
5. Turn On Grid Lines and Use the Full 4:3 Aspect Ratio
Composition matters as much as any setting, and two quick changes make it far easier to get right every time. First, turn on the grid overlay in your camera settings, it splits your frame into thirds and gives you a simple guide for where to place your subject.
Second, most phone camera sensors are built around a 4:3 aspect ratio, but many camera apps default to a cropped 16:9 instead. Shooting in 4:3 uses your sensor’s full resolution, giving you more image data to work with and more room to crop later without losing quality.
- Enable grid lines in Camera Settings, usually under “Composition” or “Grid”
- Place key subjects along the grid lines or intersections instead of dead center
- Switch your aspect ratio to 4:3 in settings if your phone defaults to 16:9
- You can always crop a 4:3 photo down to 16:9 later, but you can’t add back cropped-out detail
6. Stabilize the Shot Instead of Fighting Motion Blur
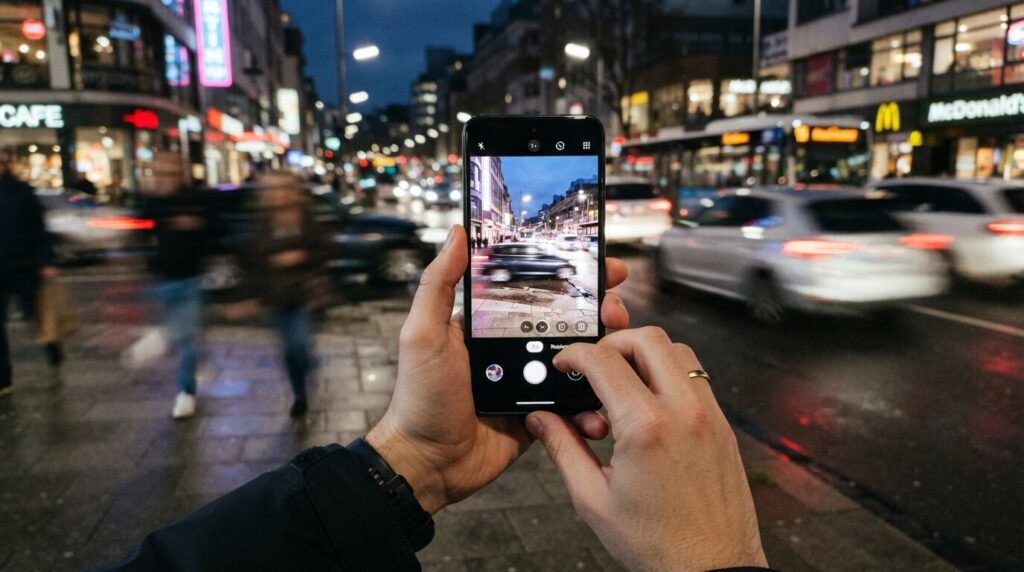
Even a rock-steady hand introduces tiny vibrations, and in low light, where your phone naturally uses a slower shutter speed, that small shake is often the difference between a sharp photo and a slightly blurry one. Stabilizing your shot solves this at the source, instead of trying to fix blur after the fact.
Architecture and long-exposure photographers rely on this constantly, and it applies just as much to a phone as a professional camera. A simple two-handed grip, bracing your elbows against your body, or using a small tripod all meaningfully reduce shake.
- Use a two-handed grip, with elbows tucked in against your body for extra stability
- A pocket tripod is inexpensive and makes a real difference for night shots or group photos
- Tapping the screen to shoot introduces vibration, use the volume button or a Bluetooth remote shutter instead
- Burst mode captures several frames rapidly, letting you pick the sharpest one afterward
7. Use Natural Light and Avoid Your Phone’s Flash
Built-in phone flashes are small, harsh, and positioned right next to the lens, which almost always produces flat, unflattering lighting with odd color casts. Professional photographers avoid it for a reason, and it’s one of the easiest habits to break.
Natural light, even indirect light from a window, produces softer shadows and far more accurate skin tones and colors than a direct LED flash ever will. When natural light truly isn’t available, your phone’s Night Mode is almost always a better solution than flash.
- Position your subject facing a window or open light source rather than using flash
- Overcast days actually produce excellent, soft, even lighting for outdoor photos
- Use Night Mode in low light instead of flash, it captures multiple exposures and blends them for detail without harsh light
- If you must use flash, diffuse it by covering the LED lightly with a thin piece of white tape or tissue
8. Keep Your Camera App and Phone Software Updated
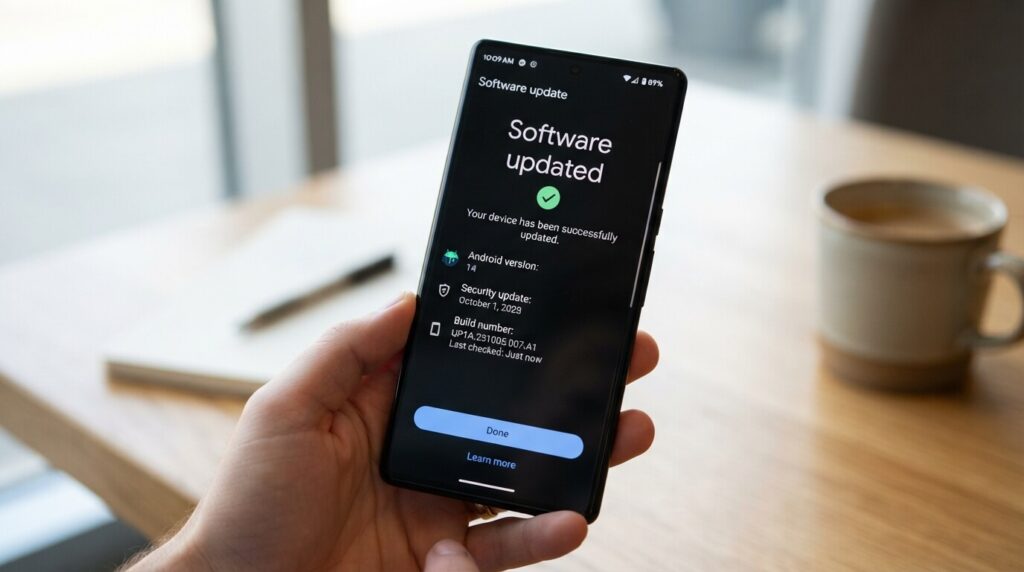
This is the technique with zero effort and a genuinely real payoff, and it’s easy to forget entirely. Camera performance on modern phones isn’t just hardware, computational photography, the software processing that stitches together multiple exposures into one sharp image, improves constantly through software updates.
Manufacturers regularly ship updates that improve autofocus speed, low-light processing, and even color accuracy without changing anything about your phone’s physical camera. Skipping updates means missing out on real, free improvements to the same hardware you already own.
- Check Settings > System > Software Update every few weeks
- Update your camera app specifically through the Play Store or App Store, since updates sometimes ship separately from full OS updates
- Restart your phone after major updates to make sure new camera processing fully takes effect
- Camera-specific firmware updates are common on flagship phones and often go unnoticed if auto-update is off
Real-World Examples
Here’s how these techniques play out in situations people actually run into.
A parent photographing a birthday party indoors under mixed lighting taps to set exposure on their child’s face, avoiding the washed-out, overexposed look flash usually produces. A hobbyist photographer heading out for a sunset walk switches their aspect ratio to 4:3 and turns on grid lines, framing the horizon along the lower third instead of centering it awkwardly. A frequent traveler capturing landscape shots on a hiking trip wipes down their lens each morning before starting, since pocket lint and trail dust build up fast and quietly ruin otherwise great shots.
- Indoor event photography: exposure lock beats flash for natural-looking results
- Landscape and travel photography: 4:3 aspect ratio plus grid lines improves composition instantly
- Daily lens cleaning: a five-second habit that prevents an entire day of soft, hazy photos
- Low-light photography: Night Mode plus a two-handed grip replaces flash and reduces blur together
Frequently Asked Questions
Why do my phone photos look blurry even in good light? The most common cause is a dirty lens or motion blur from handshake, not poor lighting. Clean your lens first, then use a two-handed grip or the volume button to shoot instead of tapping the screen.
Should I always use the highest megapixel setting on my phone? Not necessarily. Most phones use pixel binning at their default resolution to reduce noise, and switching to maximum megapixel mode can actually produce less detail in normal shooting conditions.
Is digital zoom ever worth using? Generally, no. Digital zoom crops and enlarges the image your sensor already captured, reducing quality. It’s almost always better to use your phone’s optical zoom lens if available, or simply move closer to your subject.
What’s the difference between RAW and HEIC or JPEG on my phone? RAW preserves more original image data and applies less automatic processing, giving you far more flexibility when editing. HEIC and JPEG are more compressed and processed, which is fine for casual sharing but limits how much you can adjust afterward.
Does keeping HDR on all the time help or hurt my photos? For most everyday scenes, leaving HDR on auto is the best approach. It can occasionally cause unnatural-looking results in low-contrast scenes or ghosting with fast-moving subjects, which is when manually toggling it off helps.
Why does my phone camera struggle in low light? Small phone sensors gather less light than dedicated cameras, which is where noise and blur come from in dark conditions. Night Mode, a stabilized grip, and avoiding flash together solve most of this without any extra gear.
Do third-party camera apps actually take better photos than the built-in app? They can, particularly if your phone’s native app lacks manual controls or you want to bypass heavy automatic processing. Apps like Open Camera, ProCam, and Halide are commonly recommended for more control over focus, exposure, and RAW capture.
How often should I update my phone’s camera app? Check for updates every few weeks, since camera-specific improvements to autofocus and low-light processing often ship separately from full operating system updates. Turning on auto-update in your app store ensures you never miss one.
The Bottom Line
Better phone photos rarely come down to buying a new phone, they come down to a handful of habits most people simply never learned. Cleaning your lens, avoiding digital zoom, and taking control of focus and exposure fix the majority of common problems, and they cost nothing.
Layer in the full 4:3 aspect ratio, grid lines, stabilized shooting, and natural light, and you’re working with the same fundamentals professional photographers rely on, just adapted to the camera already in your pocket. Try the first three techniques on your very next photo, and the difference will be obvious before you even open an editing app.