
Whether you’re tired of spam messages, unwanted FaceTime calls, or intrusive emails, blocking someone on your Mac is one of the easiest ways to protect your privacy and peace of mind.
With the latest macOS Sequoia (2025) update, Apple has made it simpler to manage unwanted contacts across Messages, FaceTime, and Mail syncing your preferences automatically with iPhone and iPad through iCloud.
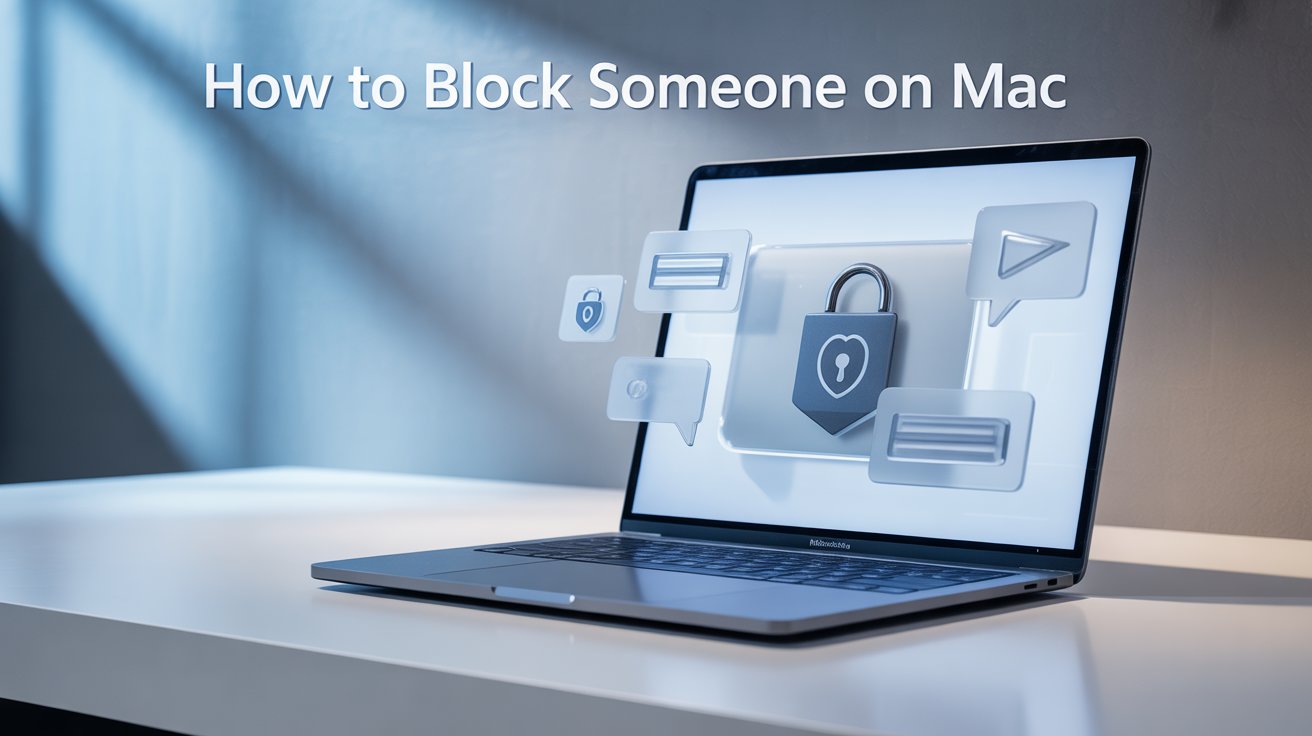
In this updated 2025 guide, we’ll show you how to block or unblock contacts on your Mac, plus share privacy control tips that go beyond basic blocking.
Why Block Someone on Your Mac?
Blocking a sender on Mac isn’t just about avoiding annoyance it’s a key step in maintaining digital privacy and data security.
Here’s why you might want to block someone in 2025:
-
Stop spam and scam messages: Many phishing attempts still use Apple ID–linked iMessages.
-
Prevent unwanted FaceTime calls: Block persistent or unknown callers instantly.
-
Avoid exposure of personal data: Blocking cuts off unwanted access to read receipts or typing indicators.
-
Reduce distraction: Keep business and personal communication separate.
Pro Insight: Apple’s new privacy reports in macOS Sequoia show which apps or contacts have accessed your microphone, camera, or messages helping you identify suspicious activity before blocking.
How to Block Someone in Mac Messages (2025)
If you’re getting spam or annoying texts in Messages (iMessage), you can block the sender in a few clicks.
Here’s how:
-
Open the Messages app.
-
Choose the conversation with the person you want to block.
-
In the top menu bar, go to Conversation → Block Person.
-
Confirm the action.
From now on, messages from that contact won’t appear on your Mac, iPhone, or iPad (if iCloud sync is enabled).
Expert Tip: If you’re unsure about the sender, you can preview one message first before blocking this helps you avoid blocking legitimate messages accidentally.
How to Block a New Number or Email Before They Contact You
Sometimes you already know a number or email you want to block even before they message you. macOS doesn’t have a direct “pre-block” button, but you can do it by adding them as a contact first.
Steps:
-
Open Messages → Settings (or press
Command + ,). -
Click the Blocked tab.
-
Hit the (+) Plus icon.
-
Add a new contact with their phone number or email.
-
Select that contact to block.
Now any attempt from that number or email will be silently filtered across your Apple devices.
Note: Blocking on Mac syncs via iCloud so once blocked, that contact is also blocked on your iPhone and iPad automatically.
How to Block Someone on FaceTime (Mac)
FaceTime spam calls are increasing again in 2025, especially from masked or foreign numbers. Luckily, blocking them is simple:
-
Open the FaceTime app.
-
Right-click the caller’s number or name.
-
Choose Block This Caller.
You can also manage all blocked numbers from:
FaceTime → Settings → Blocked Contacts.
Expert Insight: FaceTime uses the same Apple ID list as Messages, so blocking someone here automatically prevents them from calling you again on any linked Apple device.
How to Block Emails in Apple Mail on Mac
Apple Mail’s advanced filtering and blocking tools have improved with macOS Sequoia. You can now send messages from blocked senders directly to the Trash instead of just marking them as Junk.
Quick Method:
-
Open the Mail app.
-
Select a message from the sender you want to block.
-
Hover over their name → click the arrow → choose Block Contact.
You’ll now see a red hand icon beside their name — confirming the block.
Advanced Method (Full Control):
-
Open Mail → Settings → Junk Mail → Blocked.
-
Click the (+) Plus button to add new email addresses manually.
-
Under “When mail arrives from a blocked address,” choose Move it to Trash.
Action |
What It Does |
Best For |
|---|---|---|
Block Contact |
Stops specific senders |
Spam or phishing |
Mark as Junk |
Flags but allows delivery |
Newsletters |
Move to Trash |
Auto-deletes mail |
Persistent spammers |
How to Unblock Someone on Mac (Messages or FaceTime)
If you change your mind later, you can easily unblock a contact.
To unblock in Messages or FaceTime:
-
Open Settings → Blocked Contacts.
-
Select the name or number.
-
Click the (-) minus icon.
They’ll immediately be removed from your blocked list on all devices connected to your Apple ID.
Hide Messages from Unknown Senders (Without Blocking)
If you don’t want to block someone but still want to keep your inbox clean:
-
Open the Messages app.
-
From the top menu, click View → Known Senders Only.
Now, only people saved in your contacts appear in Messages.
To view everything again, go back to View → All Messages.
Pro Tip: This setting mirrors the iPhone feature “Filter Unknown Senders,” offering consistent privacy across devices.
Extra Privacy Steps Beyond Blocking
Blocking is just one piece of the privacy puzzle.
To further protect your Mac in 2025, you can:
-
Use CleanMyMac X’s Privacy Tool to clear browser data, cache, and Wi-Fi history.
-
Manage app permissions under System Settings → Privacy & Security.
-
Regularly delete “Recently Deleted” messages to free space and prevent data recovery.
Recover Deleted Messages (up to 30 days):
-
Open Messages → View → Recently Deleted.
-
Select the chat → click Recover to restore or Delete to remove permanently.
People Also Ask (2025 Updates)
Q: Does blocking on Mac also block on iPhone?
Yes as long as you’re signed into the same Apple ID with iCloud sync on, blocks apply across all Apple devices.
Q: Can I block unknown numbers automatically?
Not fully, but you can hide unknown senders or use Focus filters to mute them.
Q: Can a blocked person still email me from another address?
Yes, blocking is address-specific. For spammy emails, use Apple’s new Mail Privacy Protection filters for better results.
Final Thoughts: Take Control of Your Privacy on Mac
Apple’s privacy tools are stronger than ever but spam, phishing, and unwanted messages continue to evolve. Knowing how to block someone on your Mac (and when to use filters instead) helps you stay productive, secure, and distraction-free.
With iCloud syncing, every action you take on your Mac now instantly applies to your iPhone, iPad, and even Apple Watch making privacy management seamless in 2025.


