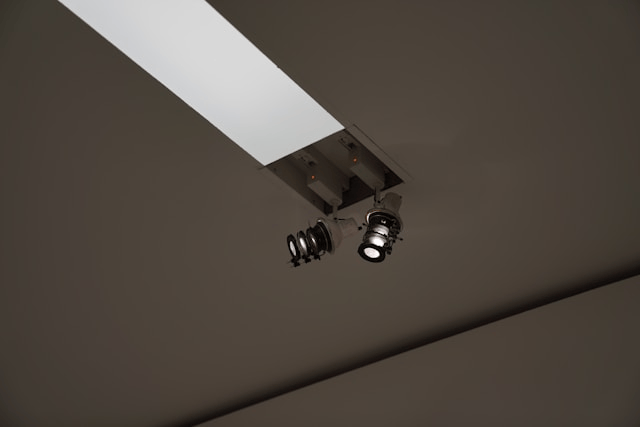
Recessed lighting has become one of the most popular home upgrades because of its sleek design, versatility, and ability to make spaces feel bigger and brighter. Unlike bulky fixtures, recessed lights sit flush with the ceiling, creating a modern, streamlined look. Whether you’re renovating a kitchen, finishing a basement, or simply refreshing your living room, learning how to install recessed lighting can completely transform your space.
If you’re a DIY enthusiast, this recessed lighting installation guide will walk you through everything from planning your layout to wiring and finishing touches.
Why Choose Recessed Lighting?
Recessed lights are sometimes called can lights or downlights, and they offer several advantages:
-
They save space by fitting into the ceiling instead of hanging down.
-
They provide even light coverage across a room.
-
They highlight specific areas such as countertops, artwork, or reading nooks.
-
They work well in low-ceiling spaces where traditional fixtures may feel overwhelming.
From bathrooms to basements, recessed lighting is one of the most practical home lighting upgrades you can make.
Planning Your Recessed Lighting Layout
Before cutting into your ceiling, proper planning is key.
-
Choose the Right Type of Lighting
-
IC-rated housings are required if the light will come in contact with insulation.
-
Airtight housings prevent air leaks and improve energy efficiency.
-
LED recessed lights last longer and use less energy compared to halogen or incandescent bulbs.
-
-
Decide on Placement
-
Position lights 4–6 feet apart for general room lighting.
-
Avoid placing them too close to walls to prevent harsh shadows.
-
For kitchens, place recessed lights above countertops for task lighting.
-
-
Check for Obstructions
-
Use a stud finder to locate joists and avoid cutting into ceiling beams or ductwork.
-
Careful planning ensures your recessed lighting wiring is efficient and your ceiling looks clean.
Gathering Tools and Materials
Here’s what you’ll need for DIY recessed lighting:
Tools:
-
Drill and hole saw or drywall saw
-
Tape measure and pencil
-
Voltage tester
-
Fish tape (for pulling wires)
-
Wire strippers and screwdrivers
Materials:
-
Recessed light housings
-
Light bulbs or LED modules
-
Junction boxes
-
Electrical wiring (Romex or as required by code)
-
Trims for finishing
Having everything ready will make the step-by-step recessed lighting installation process smoother.
Safety First
Before beginning any electrical work, switch off power at the breaker panel. Use a voltage tester to confirm wires are not live.
Other safety tips:
-
Follow local building codes and check if a permit is required.
-
If you’re unsure about wiring, consult or hire a licensed electrician.
-
Never overload a circuit; calculate wattage to ensure your existing wiring can handle the load.
Step-by-Step Recessed Lighting Installation
Here’s how to install recessed lighting safely and effectively:
-
Mark Your Ceiling
-
Use the template that comes with your recessed light housing to trace circles where each light will go.
-
-
Cut the Holes
-
Use a drywall saw or hole saw to carefully cut along your markings.
-
-
Run Electrical Wiring
-
Feed wires from your power source (often an existing ceiling light or junction box) to each new hole.
-
Use fish tape to pull wires through tight spaces.
-
-
Connect the Wiring
-
Inside the junction box, connect black wires to black (hot), white to white (neutral), and green or bare copper to ground.
-
Secure all connections with wire nuts.
-
-
Insert the Light Housings
-
Slide the recessed can into the hole and secure it with built-in clips or mounting brackets.
-
-
Attach Trims and Bulbs
-
Snap the trim into place for a finished look.
-
Install your chosen LED or halogen bulb.
-
-
Turn the Power Back On
-
Switch the breaker back on and test your lights.
-
Finishing Touches
Once the installation is complete, small finishing details can elevate the look:
-
Install dimmer switches for adjustable brightness.
-
Use daylight LEDs in kitchens and warm LEDs in living spaces for ambiance.
-
Ensure trims fit snugly for a polished finish.
Common Mistakes to Avoid
Even with a good recessed lighting installation guide, DIYers often make these mistakes:
-
Poor spacing that leaves areas too dark or overly bright.
-
Overloading circuits, which can be a fire hazard.
-
Cutting holes before checking for joists or ducts.
-
Using the wrong type of housing, especially in insulated ceilings.
Avoiding these errors will save you time, money, and frustration.
Why Recessed Lighting is Worth It
Installing recessed lights may take effort, but the benefits are long-lasting:
-
A clean, modern look for any room
-
Improved functionality and brightness
-
Energy savings with LED options
-
Increased home value due to upgraded lighting
Whether you hire a professional or try DIY recessed lighting, this home lighting upgrade is one of the best ways to refresh your living space.
Conclusion
Learning how to install recessed lighting is a rewarding project for homeowners who want a modern, streamlined look. By planning your layout, gathering the right tools, following safety practices, and carefully completing each step, you can achieve professional-looking results.
If you’re confident in your DIY skills, this step-by-step recessed lighting installation guide gives you everything you need to brighten your home. And if wiring feels intimidating, don’t hesitate to call in an electrician to ensure the job is done safely.


