
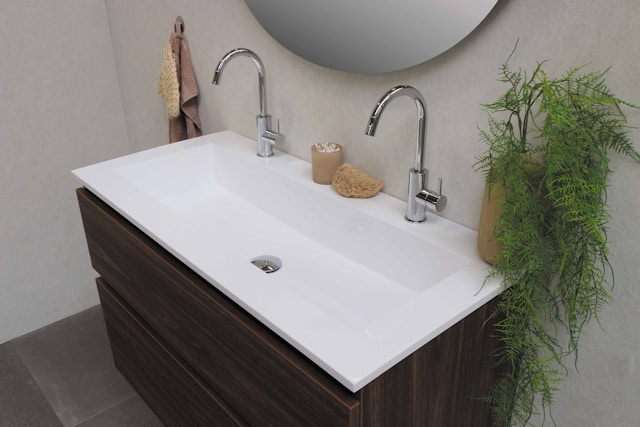
Upgrading your bathroom faucet is a simple and cost-effective way to enhance the look and functionality of your space. The good news is that you don’t need to hire a plumber—this is a manageable DIY project that can be done in under an hour. Follow this step-by-step faucet installation guide to replace your old fixture with a sleek, modern one.
Tools and Materials Needed
Before you start, gather the following tools and materials to make the process smooth:
- Adjustable wrench
- Basin wrench
- Screwdriver
- Bucket and towels
- Plumber’s tape
- Plumber’s putty or silicone sealant (if required)
- New faucet
- Supply lines (if needed)
Preparation Before Installation
- Turn off the water supply – Locate the shutoff valves under the sink and turn them clockwise to stop the water flow. If your sink doesn’t have shutoff valves, turn off the main water supply.
- Place a bucket or towels under the sink – This will catch any remaining water when disconnecting the old faucet.
- Clear the area – Remove any items stored under the sink to ensure easy access to plumbing connections.
Removing the Old Faucet
- Disconnect the water supply lines – Use an adjustable wrench to loosen and remove the nuts connecting the supply lines to the faucet.
- Loosen and remove mounting nuts – These nuts hold the faucet in place. Use a basin wrench if they are hard to reach.
- Lift out the old faucet – Once the nuts are removed, lift the faucet from the sink.
- Clean the sink surface – Scrape off any old plumber’s putty or residue to ensure a smooth installation for the new faucet.
Installing the New Faucet
- Position the new faucet – Place it into the mounting holes on the sink. Ensure it is aligned properly.
- Secure the faucet – From underneath the sink, attach the mounting nuts and tighten them securely.
- Connect the water supply lines – Attach the hot and cold supply lines to the corresponding valves. Use plumber’s tape on the threads to prevent leaks.
- Double-check connections – Ensure all connections are tightened but not overtightened to avoid damage.
Testing and Final Touches
- Turn the water supply back on – Slowly open the shutoff valves and check for any leaks.
- Run water through the faucet – Let the water flow for a few minutes to clear out any debris from the installation.
- Apply sealant if necessary – If required by the manufacturer, apply plumber’s putty or silicone sealant around the base of the faucet for a watertight seal.
Troubleshooting Common Issues
- Leaky connections – If you notice leaks, tighten the nuts and use plumber’s tape to ensure a proper seal.
- Low water pressure – Remove the faucet aerator and rinse it to clear out any debris.
- Faucet wobbling – Ensure the mounting nuts are securely fastened to prevent movement.
Conclusion
Installing a new bathroom faucet is an easy DIY upgrade that enhances both the style and functionality of your space. With just a few tools and some simple steps, you can complete your bathroom faucet upgrade in no time. Be sure to follow the manufacturer’s instructions for your specific model, and enjoy your new fixture.


