
Mounting a TV on the wall is a great way to save space, improve your viewing experience, and give your living room a sleek, modern look. While it may seem like a challenging task, with the right tools and a step-by-step approach, you can securely mount your TV like a pro. This guide will walk you through the entire process, ensuring a safe and professional installation.
Why Wall-Mounting Your TV is a Smart Choice
Wall-mounting your TV has several benefits beyond just aesthetics. It frees up floor space, making your living room or bedroom look more organized. A well-mounted TV also improves viewing angles and reduces glare, creating a more comfortable watching experience. Additionally, securing your TV to the wall minimizes the risk of accidental tipping, making it a safer option for homes with children or pets.
Choosing the Right TV Mount
Selecting the best TV wall mount is crucial for both safety and functionality. Here are the most common types of TV mounts:
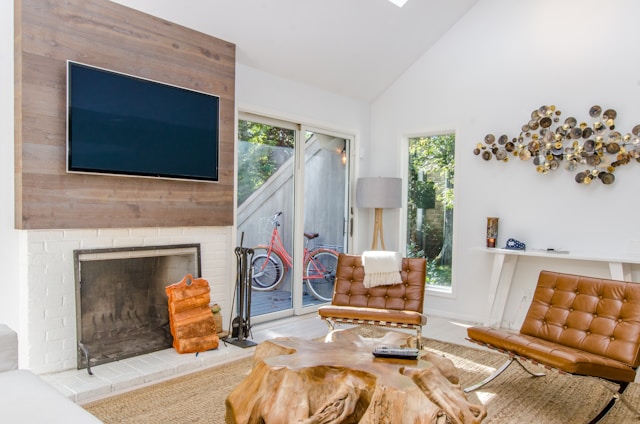
- Fixed Mount – Keeps the TV flush against the wall, ideal for a minimalist look.
- Tilting Mount – Allows slight angle adjustments to reduce glare.
- Full-Motion Mount – Provides maximum flexibility with swivel and extension options.
- Ceiling Mount – A great choice for unique room layouts or limited wall space.
Make sure the mount is compatible with your TV by checking the VESA pattern, which refers to the standardized hole spacing on the back of the TV. Also, ensure the mount can support your TV’s weight and size.
Tools and Materials You’ll Need
Before you start, gather the necessary tools and materials to make the installation smooth and efficient:
- Stud finder
- Power drill
- Level
- Measuring tape
- Screwdriver
- Wall anchors (if mounting on drywall without studs)
- Mounting brackets and screws (usually provided with the mount)
- Safety goggles and gloves for protection
Finding the Perfect Wall Location
The right placement is key to a comfortable viewing experience. Here’s how to determine the best spot:
- Optimal Height – The center of the screen should be at eye level when seated. A good rule of thumb is about 42-48 inches from the floor for most setups.
- Locating Wall Studs – Use a stud finder to locate secure anchor points in the wall. Mounting your TV to studs ensures maximum stability.
- Avoiding Electrical Hazards – Check for electrical wires or plumbing inside the wall before drilling. If in doubt, consult a professional.
Guide to Mounting Your TV
Step 1: Mark the Drill Points
Hold the wall bracket against the chosen spot and use a pencil to mark where the screws will go. Use a level to make sure it’s perfectly aligned.
Step 2: Drill the Holes and Attach the Wall Plate
Using a drill, create pilot holes at the marked points. Secure the wall plate to the studs using heavy-duty screws. If mounting on drywall, use strong wall anchors.
Step 3: Attach the Mounting Bracket to Your TV
Most TV mounts come with a separate bracket that attaches to the back of the TV. Align it with the VESA mounting holes and secure it using the provided screws.
Step 4: Hang the TV on the Wall Mount
With the help of another person, carefully lift the TV and hook it onto the mounted wall plate. Double-check that it clicks into place and is securely fastened.
Step 5: Adjust the Angle and Tighten Screws
If using a tilting or full-motion mount, adjust the TV to the desired angle and tighten all screws to ensure stability.
Managing Cables for a Clean Setup
Messy cables can take away from the sleek look of a wall-mounted TV. Here are some affordable cable management solutions:
- Use a cord cover – Hides cables along the wall and can be painted to match your décor.
- Install an in-wall cable kit – Provides a seamless, wire-free look.
- Use adhesive cable clips – Helps organize and secure cables behind the TV stand or along the wall.
- Opt for wireless streaming devices – Minimize the number of visible cables by using wireless options like smart TV apps or streaming sticks.
Avoiding Common Mounting Mistakes
- Not using a stud finder – Mounting into drywall alone can cause the TV to fall. Always anchor to studs or use strong drywall anchors.
- Mounting the TV too high – This can strain your neck while watching. Keep it at a comfortable viewing height.
- Skipping the level check – A crooked TV can be frustrating. Double-check alignment before drilling.
- Not tightening screws properly – Loose screws can lead to an unstable mount. Ensure everything is securely fastened.
Final Touches and Testing
Once your TV is mounted, give it a final check:
- Ensure all screws are tight and the mount is secure.
- Test the TV by gently tilting or swiveling (if applicable).
- Turn on the TV and check the viewing angles from different seating positions.
If needed, adjust the tilt or height slightly to achieve the best viewing experience.
Final Thoughts
Learning how to mount a TV on the wall like a pro can enhance your home entertainment setup while saving space and reducing clutter. By selecting the right TV mount, securing it properly, and managing cables effectively, you can achieve a clean and professional-looking installation.


