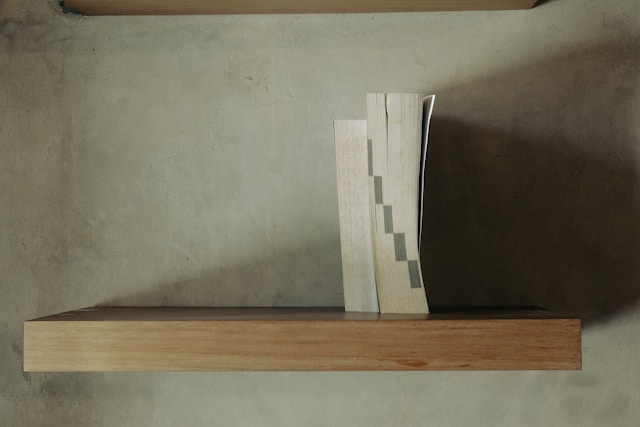
Floating shelves are one of the most stylish and functional home decor elements you can add to your space. They look clean, save floor space, and can be customized to match any interior style. Even better? You don’t have to spend a fortune on store-bought versions. With some basic tools and a little effort, you can learn how to make floating shelves yourself, perfect for DIY beginners and seasoned makers alike.
In this guide, we’ll walk you through everything you need to know about how to make your own floating shelves, from gathering materials to installing them like a pro.
Why Choose Floating Shelves?
Floating shelves are mounted to the wall without visible brackets, giving them a sleek, modern appearance. They’re perfect for:
-
Adding storage in small spaces
-
Showcasing decor without bulky furniture
-
Enhancing minimalist, rustic, or industrial interiors
Unlike traditional shelving units, floating shelves are cost-effective and don’t eat up your floor space, making them ideal for kitchens, bathrooms, bedrooms, or even hallways.
Materials & Tools Needed
Before diving into your DIY floating shelves project, make sure you have the right tools and supplies on hand.
Materials
-
Wood (pine, oak, or plywood depending on your style/budget)
-
Wall anchors (drywall or masonry, depending on your wall type)
-
Screws (wood screws and wall-mount screws)
-
Brackets or hidden shelf supports (buy or make your own)
-
Wood glue (optional)
-
Wood stain or paint
-
Sandpaper or sanding block
-
Wood filler (for any gaps)
Tools
-
Drill and drill bits
-
Saw (hand saw or circular saw)
-
Level
-
Measuring tape
-
Screwdriver
-
Stud finder
-
Paintbrush or cloth (for stain/paint)
-
Pencil
Planning and Measuring
Before you pick up a saw, take time to plan out your shelves. Choose a wall that doesn’t have any hidden electrical wiring or plumbing behind it, especially important when drilling. Use a stud finder to locate the studs if you want your shelves to hold more weight.
Things to Consider:
-
Shelf size: How long and deep do you want the shelves? Standard depths are 8–10 inches for most uses.
-
Spacing: Consider the height between shelves, especially if you plan to store taller items like books or jars.
-
Style: Choose your wood type and finish depending on whether you’re going for a rustic, modern, or industrial look.
How to Make Floating Shelves: Step-by-Step Instructions
1. Cut the Wood
Measure and cut your boards to the desired shelf length using your saw. If you’re making a thicker shelf, you can build a hollow box using plywood panels and mount it over a hidden bracket.
2. Sand and Finish
Use sandpaper to smooth all surfaces and edges. Then, apply your chosen wood stain or paint. Allow it to dry completely before installation.
3. Prepare the Wall and Mark the Placement
Use a level and pencil to mark where the shelf will go. Double-check that your lines are straight—this is crucial for a clean, professional look.
4. Install the Brackets or Supports
Drill holes into the wall, ideally into studs for strength. If you can’t hit a stud, use heavy-duty wall anchors. Mount the brackets or hidden supports securely using screws.
5. Mount the Shelf
Once your supports are in place, slide the shelf onto them. If using a hollow design, fit the shelf snugly over the supports. Use wood glue or small screws to secure it in place if necessary.
Design Ideas and Variations
One of the best things about DIY floating shelves is how customizable they are. Here are some ideas:
-
Rustic charm: Use reclaimed wood or weathered boards with a natural finish.
-
Modern minimalism: Go for crisp, painted white or black shelves with clean edges.
-
Industrial edge: Combine stained wood with black steel brackets or pipe fittings.
You can use floating shelves in virtually any room:
-
Kitchen: Store spices, cookbooks, and glassware
-
Bathroom: Hold toiletries and towels
-
Living room: Display photos, plants, and decor
-
Entryway: Create a catch-all spot for keys and mail
Looking for budget shelving ideas? Use offcuts from other projects or head to a local hardware store for inexpensive lumber and bracket.
Common Mistakes to Avoid
Here are some pitfalls to steer clear of when installing your homemade wall shelves:
-
Not using a level: A tilted shelf is immediately noticeable and can cause items to slide off.
-
Skipping the stud finder: Mounting into drywall alone without proper anchors or hitting a stud can lead to shelf failure.
-
Overloading the shelf: Know the weight capacity of your anchors and brackets. Heavy objects require solid mounting.
Final Thoughts
Learning how to make your own floating shelves is a rewarding project that adds beauty and function to your home. Whether you’re going for a rustic, modern, or eclectic vibe, the ability to customize your design makes homemade floating shelves a perfect weekend DIY.


