
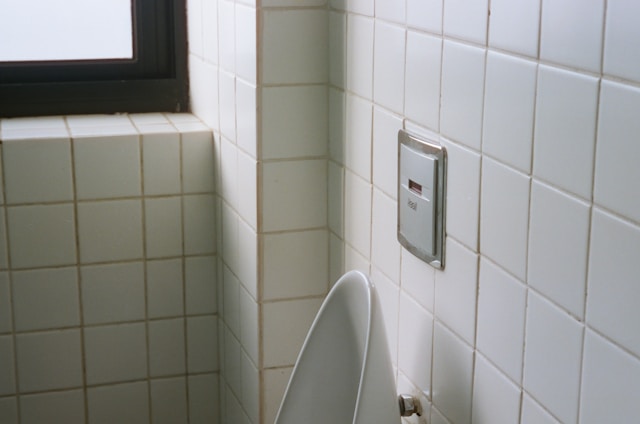
Over time, the grout between your bathroom tiles can crack, discolor, or even fall out entirely. This not only makes your bathroom look worn and dirty, but it can also lead to mold, mildew, and water damage. Fortunately, you don’t need to hire a professional to fix it. Learning how to regrout bathroom tile is a simple and affordable DIY project that can dramatically improve the appearance and longevity of your tiled surfaces.
In this guide, you’ll learn everything you need to know about regrouting tile DIY-style, from identifying when it’s time for grout replacement to mastering the steps to regrout shower tiles or floors.
Why Regrouting Is Worth the Effort
Bathroom grout serves two main purposes: it fills the gaps between tiles and helps prevent moisture from seeping behind them. When grout becomes cracked or moldy, it no longer provides an effective seal. Regrouting not only freshens up your bathroom’s look but also reinforces the waterproof barrier your tilework depends on.
Regrouting tile is significantly more cost-effective than a full remodel and can be completed in a weekend with basic tools. Whether you’re sprucing up your home for resale or maintaining it for comfort, regrouting bathroom tile is a smart and satisfying DIY upgrade.
Signs You Need to Regrout
Not sure if it’s time for a bathroom grout replacement? Here are some clear indicators:
-
Cracked or crumbling grout lines
-
Grout that has changed color or developed stains
-
Visible mold or mildew that won’t come clean
-
Tiles that feel loose or shift under pressure
-
Persistent moisture issues or damp smells
If any of these signs sound familiar, it’s time to learn how to regrout bathroom tile and restore your space.
Tools and Materials You’ll Need
Before you begin, gather the following tools and materials:
Tools:
-
Grout saw, rotary tool, or multi-tool for grout removal
-
Grout float or rubber trowel
-
Bucket and sponge
-
Utility knife
-
Safety goggles and gloves
-
Vacuum or brush for cleanup
Materials:
-
Grout (sanded or unsanded, depending on tile spacing)
-
Grout sealer
-
Grout mix container (if using powdered grout)
-
Mild cleaner or rubbing alcohol
Choosing the right grout is important. Use unsanded grout for narrow joints (less than 1/8 inch) and sanded grout for wider joints.
How to Regrout Bathroom Tile: Step-by-Step
Now that you’re ready, follow these detailed steps to regrout tile like a pro:
Step 1: Remove Old Grout
Using a grout saw or rotary tool, carefully scrape out the old grout between tiles. Be patient and avoid damaging the tile edges. Vacuum or brush out debris as you go to keep the lines clean and visible.
Step 2: Clean the Area
Wipe down the tile surface and grout lines with a damp cloth or rubbing alcohol. The cleaner the surface, the better the new grout will adhere.
Step 3: Mix and Apply New Grout
If using powdered grout, mix it according to the manufacturer’s instructions. Using a grout float, spread the grout over the tiles at a 45-degree angle, pressing it firmly into the joints. Work in small sections to ensure even application.
Step 4: Remove Excess Grout
After applying grout, drag the float diagonally across the tiles to remove extra material. Let it sit for about 10–15 minutes, then use a damp sponge to gently wipe the tile surface clean. Avoid digging into the grout lines.
Step 5: Let the Grout Cure
Allow the grout to cure for the time specified on the packaging typically 24 to 72 hours. Avoid walking on the tiles or exposing them to water during this time.
Step 6: Seal the Grout
Once fully cured, apply a grout sealer to protect against moisture and stains. Use a small brush or applicator bottle, and wipe off any excess. Reapply the sealer every year to maintain protection.
Tips for a Successful DIY Regrouting Job
Regrouting bathroom tile may seem daunting at first, but with the right approach, you can achieve professional-looking results:
-
Work in manageable sections to prevent the grout from drying too quickly.
-
Use the correct type of grout for your tile spacing and environment.
-
Don’t rush the drying process. Let the grout fully cure before sealing or using the area.
-
Keep your sponge clean to avoid leaving a haze on the tile.
-
Ventilate the area well if you’re working with strong cleaners or sealers.
If you’re tackling a larger space or complex pattern, consider starting with a small area to build confidence.
When to Call a Professional
While regrouting tile is a great DIY project, there are times when hiring a pro makes sense:
-
Large-scale damage or tiles that are falling off
-
Extensive mold or water damage behind the tiles
-
Structural issues with the wall or subfloor
-
Luxury tile or stonework that requires specialized handling
If you’re unsure about the severity of the problem or the tools required, it’s worth getting a consultation before proceeding.
Conclusion
Learning how to regrout bathroom tile empowers you to improve your home’s appearance, extend the life of your tile, and protect against water damage all without breaking the bank. With the right tools, a little patience, and this step-by-step guide, you can confidently take on this rewarding project.


