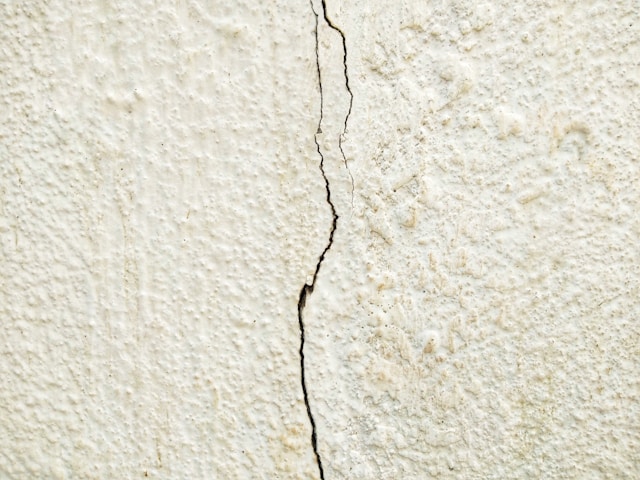
Cracks in drywall are one of the most common issues homeowners face. Whether caused by natural settling, temperature changes, or humidity, these imperfections can affect the look of your interior and even hint at deeper structural concerns. Fortunately, fixing cracks in drywall is a manageable DIY task that requires only basic tools and a bit of patience.
In this guide, you’ll learn how to repair drywall cracks step by step, from identifying the types of cracks to applying the final coat of paint. With the right approach, you can restore a smooth, clean surface without hiring a professional.
Common Causes of Drywall Cracks
Before diving into how to repair drywall cracks, it’s important to understand why they appear. Common reasons include:
-
Settling of the house over time
-
Seasonal temperature and humidity changes
-
Improper drywall installation
-
Vibrations or impact damage
-
Foundation movement or structural issues
While small cracks are often cosmetic, larger or recurring ones could indicate a more serious problem. If you’re unsure, consult a professional before beginning repairs.
Types of Drywall Cracks
Understanding the type of crack you’re dealing with will help you choose the best repair method.
-
Hairline cracks: Very thin, often appear after new construction or near seams.
-
Vertical or horizontal cracks: Can indicate settling or tension in the wall.
-
Corner cracks: Often found where walls meet, usually caused by movement.
-
Door and window frame cracks: Caused by shifting around openings in the wall.
Tools and Materials Needed
Before beginning your DIY drywall crack repair, gather the following supplies:
-
Utility knife
-
Drywall tape (mesh or paper)
-
Joint compound (drywall mud)
-
Sanding sponge or fine-grit sandpaper
-
Putty knife (4″–6″ width)
-
Primer and paint
-
Damp cloth or sponge
-
Safety gear (dust mask and gloves)
How to Repair Drywall Cracks
Step 1: Prepare the Area
Start by cleaning the cracked area. Use a utility knife to gently remove any loose material or paint. Widen the crack slightly with the knife so the joint compound can adhere better. This may seem counterintuitive, but it helps the repair last longer.
Wipe down the surface with a damp cloth to remove dust and debris.
Step 2: Apply Drywall Tape
Apply drywall tape directly over the crack. Mesh tape is easier for beginners because it’s self-adhesive, but paper tape works well for larger or corner cracks. The tape acts as a reinforcement to prevent future cracking.
Press the tape firmly in place, ensuring there are no bubbles or wrinkles.
Step 3: Apply Joint Compound
Using your putty knife, spread a thin layer of joint compound over the tape. Feather the edges to blend it into the surrounding wall surface. Allow the first coat to dry completely, which can take several hours depending on humidity.
Apply a second coat, slightly wider than the first, and smooth it evenly. Repeat for a third coat if needed to ensure the area is flush with the wall.
Step 4: Sand the Surface
Once the final coat is completely dry, gently sand the surface using a sanding sponge or fine-grit sandpaper. Your goal is a smooth, seamless finish that blends into the wall.
Wipe the area with a clean, damp cloth to remove all dust before painting.
Step 5: Prime and Paint
To finish, apply a coat of primer over the repaired area. Primer helps seal the joint compound and ensures even paint coverage. Once the primer is dry, paint over the area with a color that matches the rest of the wall.
If needed, paint the entire wall for a consistent look, especially if the original paint has faded.
Tips for Successful Drywall Repair
Here are a few helpful drywall repair tips to improve your results:
-
Work in thin layers of joint compound to avoid bulging.
-
Let each coat dry fully before applying the next.
-
Use a wide putty knife for smoother blending.
-
Practice on a small area if you’re unsure about your technique.
-
Don’t skip sanding and priming they make a huge difference in the final look.
When to Call a Professional
While most cracks can be fixed with DIY drywall crack repair methods, some situations may require expert help:
-
Cracks wider than ¼ inch
-
Repeated cracking in the same location
-
Water damage or mold in the drywall
-
Signs of structural damage (like bowed walls or floor separation)
If your wall shows signs of movement or moisture damage, it’s wise to consult a licensed contractor or structural engineer.
Conclusion
Learning how to repair drywall cracks is a valuable skill for any homeowner or DIY enthusiast. By following a careful step-by-step process, using the right tools, and applying patience, you can restore your walls to their original smoothness.


