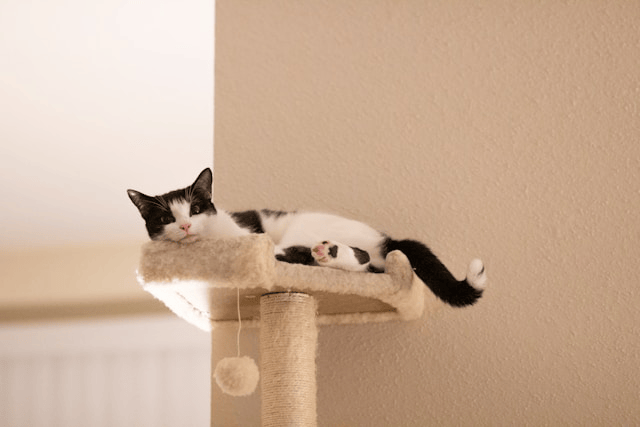
Cats love to climb, scratch, perch, and play. If you’ve ever found your feline scaling your bookshelf or snoozing atop the fridge, you know just how important vertical space is to a cat’s world. While there are plenty of commercial cat trees available, they’re often expensive, poorly made, or simply don’t match your home’s aesthetic. That’s where a homemade cat tower can be a game-changer.
In this guide, you’ll learn how to build a DIY cat tree that’s not only functional and durable, but also tailored to your cat’s needs and your budget.
Why Build Your Own Cat Tree?
A DIY cat tree offers multiple advantages over store-bought options:
-
Customization: Design a layout that fits your cat’s age, size, and personality.
-
Cost savings: Build budget cat furniture using affordable or reclaimed materials.
-
Quality and durability: Use solid materials that last longer and withstand rough play.
-
Style: Match your cat tower to your home decor with personalized finishes.
Whether you’re handy with tools or new to DIY projects, creating a custom cat climbing tree is achievable and rewarding.
Planning Your Cat Tree
Before diving into materials and tools, take time to plan. A good cat tree supports your cat’s instincts to jump, scratch, and lounge.
Consider the following:
-
Your cat’s personality: Is your cat energetic, shy, large, or elderly? Energetic cats love tall trees with climbing paths. Older or less agile cats may prefer wider, lower platforms.
-
Placement: Popular spots include corners, near windows, or next to furniture. Place the tree where your cat already enjoys hanging out.
-
Design elements: Include multiple levels, scratching posts, hiding nooks, hammocks, or lounging platforms depending on your cat’s preferences.
Sketch a simple design or find free cat tree plans online to help visualize the layout.
Materials and Tools You’ll Need
Many of the materials needed for a homemade cat tower are easy to find at home improvement stores or can be upcycled from old furniture.
Materials:
-
Plywood or MDF board (for base and platforms)
-
Sisal rope (natural fiber, great for scratching)
-
Carpet remnants, faux fur, or durable fabric
-
PVC pipe, 2x4s, or sturdy posts (for vertical support)
-
Wood screws, brackets, L-braces
-
Non-toxic wood glue or adhesive
-
Optional: Velcro pads, hanging toys, cushions
Tools:
-
Saw (hand saw or circular saw)
-
Drill and screwdriver
-
Staple gun and staples
-
Measuring tape and pencil
-
Sandpaper
-
Safety goggles and gloves
Make sure all materials are pet-safe and free of harmful chemicals.
How to Build a Cat Tree
Here’s how to build a cat tree from scratch in a few manageable steps:
1. Build the Base
The base must be sturdy enough to support the entire structure.
-
Cut a square or rectangular piece of plywood (at least 24″ x 24″)
-
Sand the edges smooth
-
Cover with carpet or non-slip fabric using a staple gun
2. Attach the Vertical Posts
Use wooden posts or PVC pipes wrapped in sisal rope.
-
Screw or bolt posts to the base securely
-
Wrap each post tightly in sisal rope, securing with glue or staples at each end
-
Make sure posts are tall enough for climbing and scratching
3. Add Platforms and Levels
Give your cat multiple places to rest or leap between.
-
Cut smaller pieces of plywood for platforms (sizes can vary)
-
Cover each with carpet or padding
-
Attach platforms to the posts at varying heights using brackets or wood screws
4. Incorporate Hideouts and Extras
Turn your tree into a kitty paradise by adding:
-
A box with a cut-out door for a cozy hideaway
-
Hanging toys or feathers for play
-
A top-level perch for window-watching
-
A hammock using strong fabric secured with hooks or Velcro
5. Check for Safety and Stability
Test every part of your DIY cat tree to make sure it’s secure.
-
Shake gently to ensure no wobbling
-
Double-check all screws and attachments
-
Sand any sharp edges and inspect materials for loose fibers or staples
Customization Ideas
Now that you’ve built the basic structure, you can personalize it to suit your style and your cat’s comfort.
Style tips:
-
Paint exposed wood with pet-safe paint to match your home
-
Use stylish upholstery fabrics for a modern or rustic look
-
Add nameplates, cat decals, or themed decorations
Your cat tree can be both a fun play structure and a decorative accent in your living space.
Maintenance and Safety Tips
Even the best cat tree needs occasional upkeep.
-
Vacuum regularly to remove fur and dander
-
Replace worn-out sisal rope or fabric as needed
-
Check for loose screws or weakened areas monthly
-
Avoid using treated wood or synthetic carpet with harsh chemicals
By keeping your DIY cat tree clean and well-maintained, you ensure your cat stays safe and happy for years to come.
Final Thoughts
Learning how to build a DIY cat tree is one of the most satisfying ways to combine creativity, craftsmanship, and pet care. Not only does it save money, but it gives your cat a space tailored specifically to their needs. Whether you’re building a tall multi-level tower or a simple scratching perch, the effort you put in will be well worth it when your cat starts exploring their new favorite playground.


